
Valet
An AI homepage for your homelab that you can talk to.
- ghcr.io/askvalet/valet:0.3.0
- v0.3.0
- Updated 9 Nov 2026
- port 6701
- amd64 · arm64
- Home
- 89 stars
Screenshots
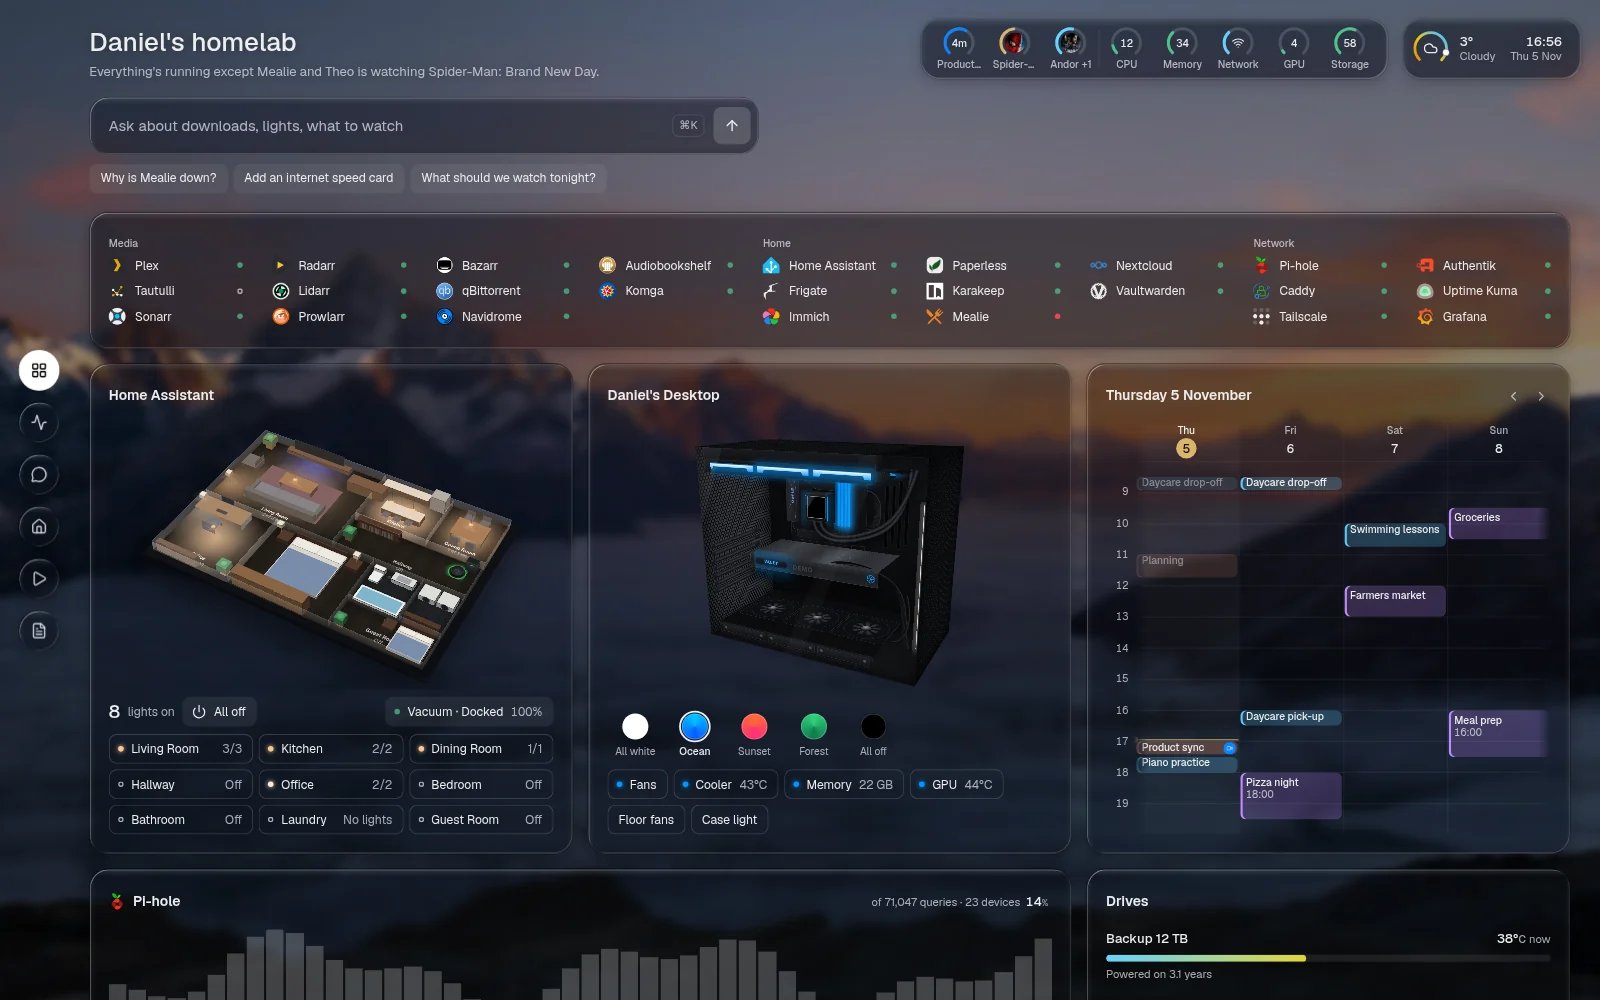
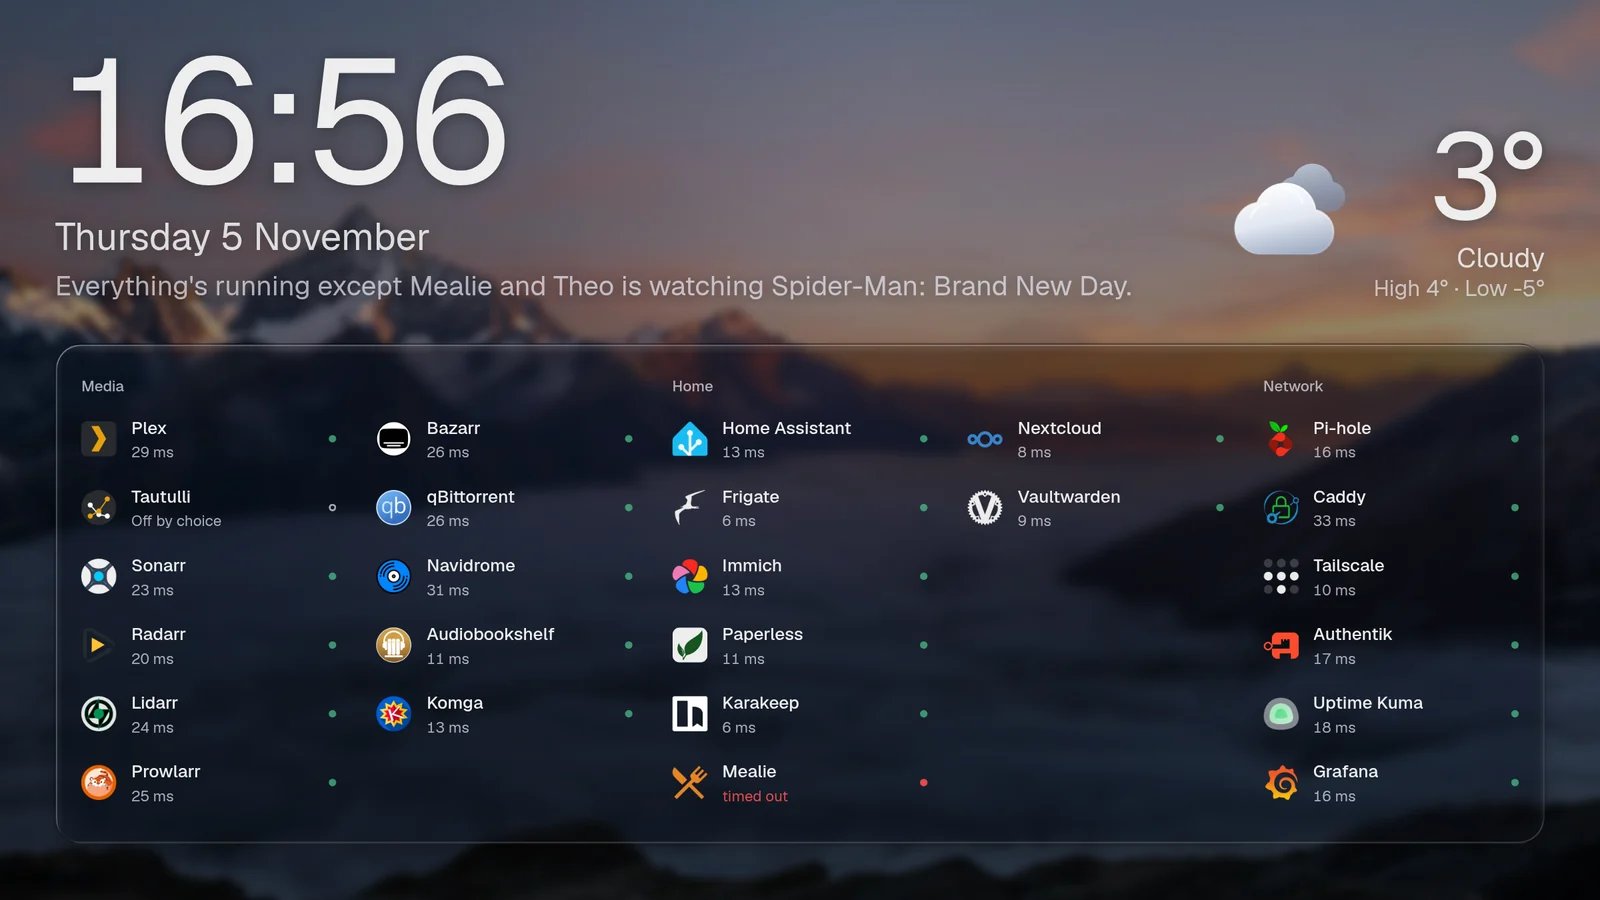
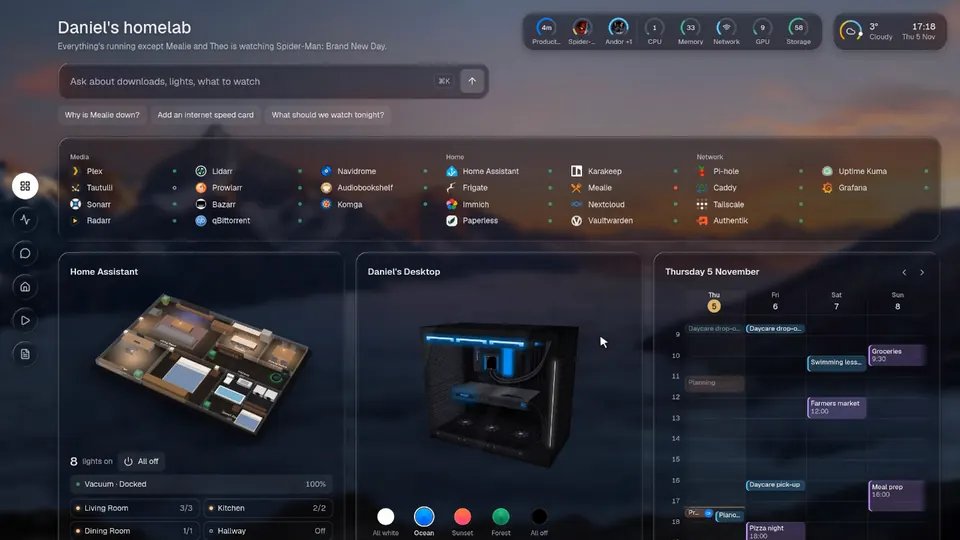
Open the app
About Valet
Valet is a homepage for your homelab that can also do things. It shows what's happening across your services, live, and lets you act on it right there. Ask it questions in plain words, with a local or hosted AI model, or switch the AI off. One YAML file sets up everything, with 185 integrations.
Features
- Live cards for your services: status, downloads, what's playing, cameras, the weather and more
- Ask the assistant anything; every change it makes waits for your approval
- Wall display mode at
/wallfor a tablet or a spare screen - 185 integrations (Home Assistant, Plex, the *arr apps, Immich, Pi-hole...) and your own
- Your API keys stay on the server; no account, no telemetry
How to use
- Open Valet from your dashboard. A getting-started card walks you through the first steps.
- Edit
config.yamlin/DATA/AppData/valet/configto add your services. - Put each service's API key in the app settings as a variable, and use it in
config.yamlas${NAME}. - To use the buttons, turn on sign-in (
auth: { mode: local }) and restart.
Before you install
Valet starts read-only: anyone who can open the page sees your services, but nothing can be changed until you turn on sign-in. Add auth: { mode: local, secureCookie: false } to config.yaml (the secureCookie: false part is needed over plain http), restart the app, copy the one-time setup code from its logs and make your account.
Every service key is a variable you add in the app settings (the Variables tab lists the common ones; any name works) and refer to in config.yaml as ${NAME}. Valet answers on its IP address and localhost; for a domain, add it to allowedHosts in config.yaml. To show your containers, use the docker integration with a read-only socket proxy, never the Docker socket itself.
The settings in the first table are already in the app settings. To use any other one, open the app settings, add the variable with your value, save, and the app restarts with it. A setting you leave out uses its default.
In the app settings
| Variable | Default value | Description |
|---|---|---|
TZ | $TZ | Your time zone. It is filled in from your ZimaOS time zone. Leave it unless you need another. |
Assistant
| Variable | Default value | Description |
|---|---|---|
OPENAI_ | — | For an OpenAI (or compatible) hosted model. A local model (Ollama, LM Studio) usually needs no key. Use it in config.yaml as ${OPENAI_API_KEY}. |
ANTHROPIC_ | — | For Claude as the assistant's model. |
Service keys
| Variable | Default value | Description |
|---|---|---|
HA_ | — | A Home Assistant long-lived access token (best from a non-admin user). |
TAUTULLI_ | — | Tautulli's API key, for Plex. |
SONARR_ | — | Sonarr's API key (Settings, General). |
RADARR_ | — | Radarr's API key. |
PROWLARR_ | — | Prowlarr's API key. |
QBIT_ | — | Your qBittorrent web UI user name. |
QBIT_ | — | Your qBittorrent web UI password. |
IMMICH_ | — | An Immich API key with read permissions. |
PIHOLE_ | — | A Pi-hole v6 app password. |
PAPERLESS_ | — | A Paperless-ngx API token (best from a view-only user). |
name: valet

services:
  valet:
    image: ghcr.io/askvalet/valet:0.3.0
    container_name: valet
    restart: unless-stopped
    stop_grace_period: 20s
    network_mode: bridge
    user: "0:0"
    environment:
      - TZ=$TZ
    ports:
      - target: 7575
        published: "6701"
        protocol: tcp
    volumes:
      - type: bind
        source: /DATA/AppData/$AppID/config
        target: /config
        bind:
          create_host_path: true
      - type: bind
        source: /DATA/AppData/$AppID/data
        target: /app/data
        bind:
          create_host_path: true
    healthcheck:
      test: ["CMD", "wget", "-q", "-O", "/dev/null", "http://127.0.0.1:7575/healthz"]
      interval: 30s
      timeout: 5s
      retries: 3
      start_period: 20s
    deploy:
      resources:
        limits:
          cpus: "1.00"
          memory: 512M
        reservations:
          cpus: "0.00"
          memory: 48M
    labels:
      icon: https://cdn.jsdelivr.net/gh/HSinghHira/IceStore@main/Apps/valet/icon.png
    x-casaos:
      id: com.icestore.valet
      envs:
        - container: TZ
          description:
            en_US: >-
              Your time zone. It is filled in from your ZimaOS time zone.
              Leave it unless you need another.
      ports:
        - container: "7575"
          description:
            en_US: Valet homepage, published on host as 6701
      volumes:
        - container: /config
          description:
            en_US: >-
              config.yaml, the one file that sets up the page: your services,
              cards, sign-in and the assistant. Valet writes a starter on first
              start; edits show up live.
        - container: /app/data
          description:
            en_US: >-
              Wallpaper, icon cache, uploads, history, accounts (users.json)
              and plugins.

x-casaos:
  id: com.icestore.valet
  architectures:
    - amd64
    - arm64
  main: valet
  author: HSinghHira
  category: Home
  developer: askvalet
  icon: https://cdn.jsdelivr.net/gh/HSinghHira/IceStore@main/Apps/valet/icon.png
  thumbnail: https://cdn.jsdelivr.net/gh/HSinghHira/IceStore@main/Apps/valet/screenshot-1.jpg
  screenshot_link:
    - https://cdn.jsdelivr.net/gh/HSinghHira/IceStore@main/Apps/valet/screenshot-1.jpg
    - https://cdn.jsdelivr.net/gh/HSinghHira/IceStore@main/Apps/valet/screenshot-2.jpg
    - https://cdn.jsdelivr.net/gh/HSinghHira/IceStore@main/Apps/valet/screenshot-3.jpg
  title:
    en_US: Valet
  tagline:
    en_US: An AI homepage for your homelab that you can talk to.
  description:
    en_US: >-
      Visit: [https://icestore.hsinghhira.me/app/valet/](https://icestore.hsinghhira.me/app/valet/) for full details


      Valet is a homepage for your homelab that can also do things. It shows
      what's happening across your services, live, and lets you act on it
      right there. Ask it questions in plain words, with a local or hosted AI
      model, or switch the AI off. One YAML file sets up everything, with 185
      integrations.


      **Features**


      - Live cards for your services: status, downloads, what's playing,
        cameras, the weather and more

      - Ask the assistant anything; every change it makes waits for your
        approval

      - Wall display mode at /wall for a tablet or a spare screen

      - 185 integrations (Home Assistant, Plex, the *arr apps, Immich,
        Pi-hole...) and your own

      - Your API keys stay on the server; no account, no telemetry


      **How to use?**


      1. Open Valet from the Zima OS dashboard. A getting-started card walks
         you through the first steps.


      2. Edit config.yaml in /DATA/AppData/valet/config to add your services.


      3. Put each service's API key in the app settings as a variable, and
         use it in config.yaml as ${NAME}.


      4. To use the buttons, turn on sign-in (auth mode local) and restart.
  tips:
    before_install:
      en_US: >-
        1. Start the installation. It is ready in a few seconds.


        2. Open Valet from your dashboard. It starts read-only: it shows
           everything but can't change anything until you turn on sign-in.


        3. Your settings live in config.yaml. Open the Files app and go to
           AppData, valet, config. Edits show up on the page as soon as you
           save.


        4. For buttons and the assistant's actions, add "auth: { mode:
           local, secureCookie: false }" to config.yaml and restart the app.
           Then copy the one-time setup code from the app's logs and make
           your account.


        5. API keys for your services go in the app settings as variables
           (like SONARR_KEY), and in config.yaml as ${SONARR_KEY}. The list
           is on https://icestore.hsinghhira.me/app/valet/ (Variables tab).
  index: /
  port_map: "6701"
  scheme: http
  is_uncontrolled: false
  version: "0.3.0"
  update_at: "2026-11-09"
  release_notes:
    en_US: |-
      - First IceStore version: ghcr.io/askvalet/valet 0.3.0
      - Port 6701; config in /DATA/AppData/valet/config and data in /DATA/AppData/valet/data. Runs as root so it can write to those folders.
  repo: "https://github.com/askvalet/valet"
  support: "https://github.com/askvalet/valet/issues"
  docs: "https://askvalet.dev"
Install Valet
Something not working with Valet?
Report it so it gets fixed, or ask for an app that is not here yet.
 ZimaOS
Add the store link, then find Valet in the App Store and install it.
 CasaOS
Add the store link, then find Valet in the App Store and install it.
 ReCasaOS
Add the store link, then find Valet in the App Store and install it.
 Homeio
Add the store link, then find Valet in the App Store and install it.
 MOS
Add the repository in MOS Hub Settings, then find Valet in Docker → MOS Hub and install it.


